
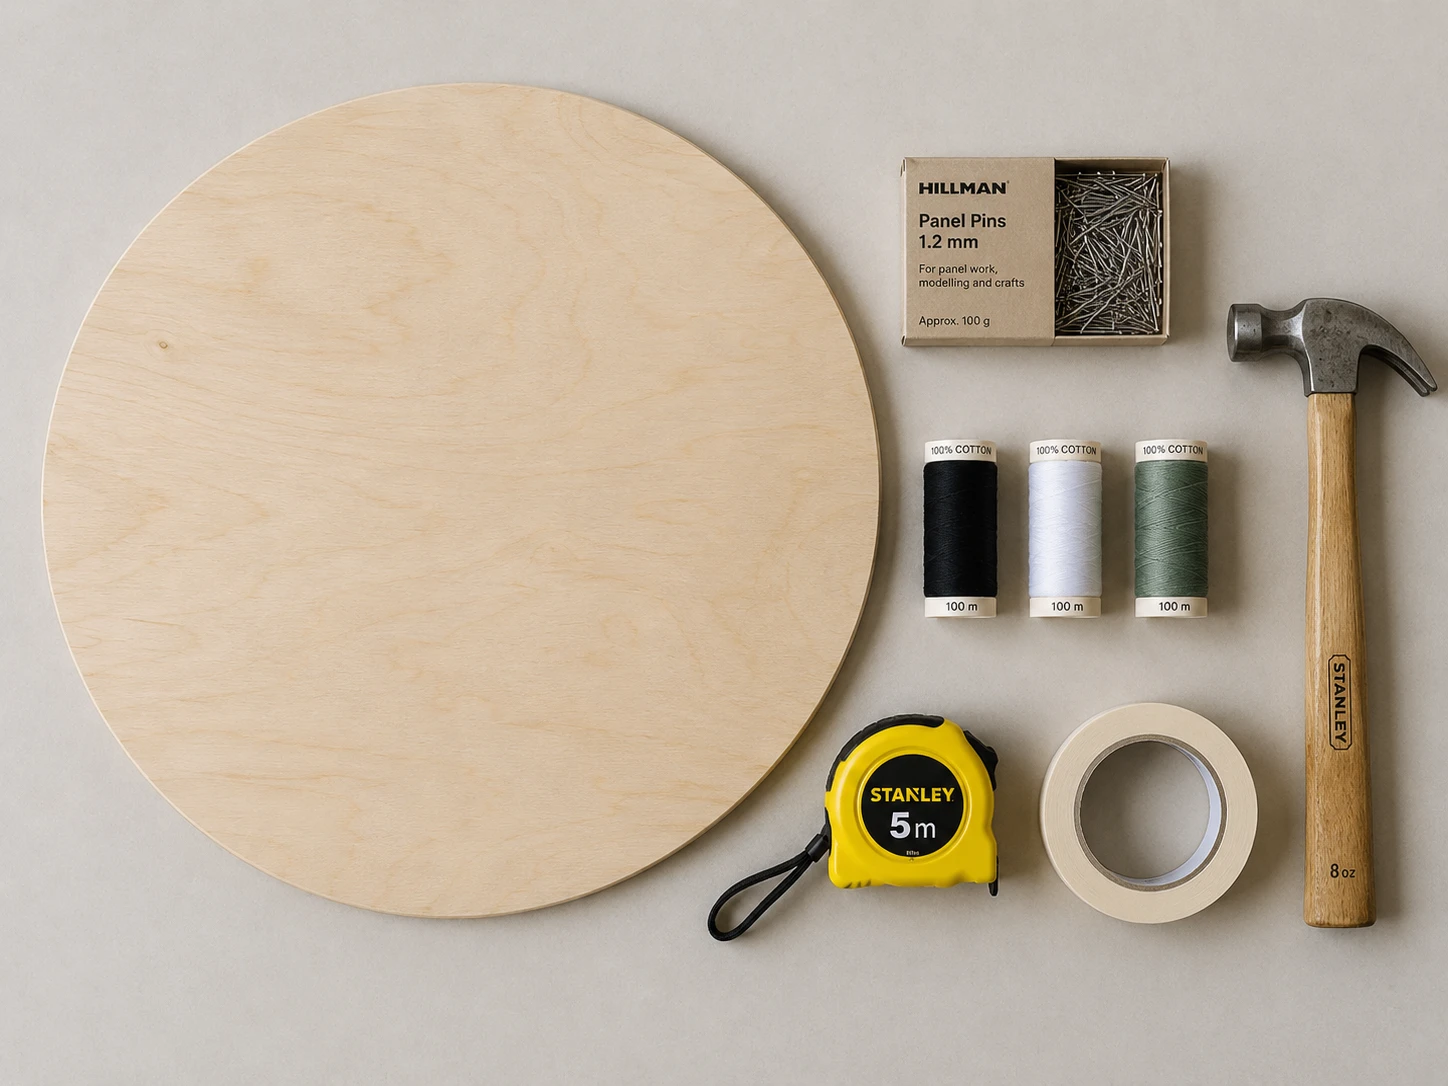
Start with the space between nails
A pattern that looks manageable on screen can be awkward to wind if its nails are too close together. Choose a physical circle diameter before you commit to a nail count. You need room for nail heads, accumulating thread, and whatever tool or fingers you use to guide each pass.
A useful first estimate is nail spacing ≈ π × circle diameter ÷ number of nails. Keep diameter and spacing in the same unit. For a 400 mm circle with 200 nails, the average distance around the edge is about 6.3 mm. With 300 nails on the same circle, it falls to about 4.2 mm. Those numbers describe center-to-center spacing around the circumference, not the free gap between nail heads.
This is a planning estimate; the direct straight-line gap between adjacent centers is slightly smaller. Subtract the nail-head width to understand the space you can actually reach. If your chosen nails nearly touch in a test row, use a larger circle, fewer nails, or smaller heads. Increasing nail count can add possible line directions, but it cannot compensate for an unworkable physical layout.
Choose a board that can hold repeated tension
The board needs to keep its nails stable after many wraps. Thickness, material, nail length, and the distance to the outer edge all matter. Test a few nails in an offcut of the same material before setting out a complete circle. A nail that rocks under gentle sideways pressure is a warning to change the setup.
Leave a border outside the nail circle. This gives you room to handle the board and reduces the chance of damaging an edge while hammering. Do not drive nails into a surface where they could pass through into a table, wiring, or anything you need to protect. Clamp or otherwise stabilize the workpiece appropriately, and use eye protection.
A smooth, pale background usually makes dark thread easier to read. If you paint or finish the board, allow it to dry fully according to the product instructions before adding a template or thread. A textured or glossy surface changes the contrast and shadows of the finished piece; test that combination instead of assuming it will match the screen preview.
Test thickness and handling
The generated image is a model of overlapping lines. Real thread has width, texture, and a shadow. Thick thread builds darkness quickly and can fill small highlights. Very fine thread may need more passes for a strong image, while also being harder to handle. Pick a thread that is comfortable to wind consistently.
Compare a few crossings of thread on your actual board under the light where you expect to display it. Check whether the thread slips off the nail heads, frays when wrapped, stretches noticeably, or forms bulky stacks. Consistent tension matters more than pulling the thread tight. Excessive tension can move nails and gradually distort a thin board.
If you estimate thread length from the pattern, allow additional material for the starting knot, wraps around nails, finishing, and handling losses. A geometric line-length estimate describes center-to-center travel; it is not an exact shopping quantity. Keep enough of the same thread to avoid a visible change in thickness or sheen halfway through.
Print and check the nail template
Download the nail template generated for your final nail count. Nail 1 is at the top, and the numbers increase clockwise. Keep that orientation consistent between your printed template, board, and instructions. Rotating the board while working is fine as long as the nail numbers remain unambiguous.
The SVG format can be resized without blurring. Set equal width and height when scaling it, and measure the printed circle with a ruler before marking your board. Printer options such as “fit to page” may alter the size. For a template larger than your paper, use a print workflow that supports tiling, align the pages carefully, and measure across the assembled circle.
Mark the nail centers, then remove or secure the paper as needed for your chosen workflow. Keep a separate numbering reference nearby. Small, removable labels around the outer edge can make frequent jumps easier to follow, especially when the pattern sends you across the circle.
Make one useful sample before the full piece
A small sample should answer three questions: do the nails stay firm, can you place several wraps under each head, and does the thread produce the contrast you want? Use the same board finish, nails, and thread as the final project. An improvised sample made from different materials will not answer those questions reliably.
Once the sample works, prepare all the nails before starting the final thread sequence. Check for bent nails, sharp burrs, inconsistent height, and missing numbers. Fixing these at the start is easier than repairing them under a dense web of thread.
Return to the generator to save the final pattern and its downloads together, or use the first-project walkthrough for the winding sequence.
Put it into practice
Try your image, inspect the preview, and save the pattern that works for your project.
Open the generator