
Make a small, achievable plan
String art builds an image from straight thread segments stretched between nails. Each segment is simple; their overlap creates the dark areas of a face, an animal, or another subject. The spaces between the threads provide the lighter areas. This is why a recognizable silhouette and clear lighting usually matter more than a large photograph.
For a first project, choose one subject on a plain, pale background. Plan a board that leaves room around the nail circle for your hands and for attaching a frame. Before committing to a large piece, make a small practice circle with a few nails and try winding your chosen thread. You will learn how much clearance your fingers need and how the thread behaves around a nail head.
Prepare the image
Open the generator and select a photo from your device. The image is processed in your browser. Choose a board shape and check that the eyes, chin, ears, or other important features sit inside its outline. A subject crowded against an edge will lose detail before the thread pattern even begins.
Look at the image as an arrangement of light and dark shapes. If the subject disappears when you imagine it in black and white, choose a clearer photograph. A dark face against a dark wall is difficult to separate using a single dark thread. A bright window behind the subject can turn the face into a silhouette; that may be attractive, but it is a different result from a detailed portrait.
Read the preview before adding more lines
Generate an initial pattern and view it at roughly the size you expect to display the finished piece. The image should read at that distance. A close inspection of individual lines can be misleading: string art is meant to combine into an image when you step back.
If the result looks crowded, reduce the line count before trying more nails. Extra lines do not automatically add useful detail. They can fill the spaces that were keeping the cheeks, forehead, or background light. If the image is too faint, increase the number of lines gradually, keeping the source image and other settings the same so that you can compare the change.
The preview is a guide, not a photograph of the finished object. Thread thickness, board color, nail height, lighting, and tension all affect the real piece. Start with a small material test when using a new thread.
Set out the board
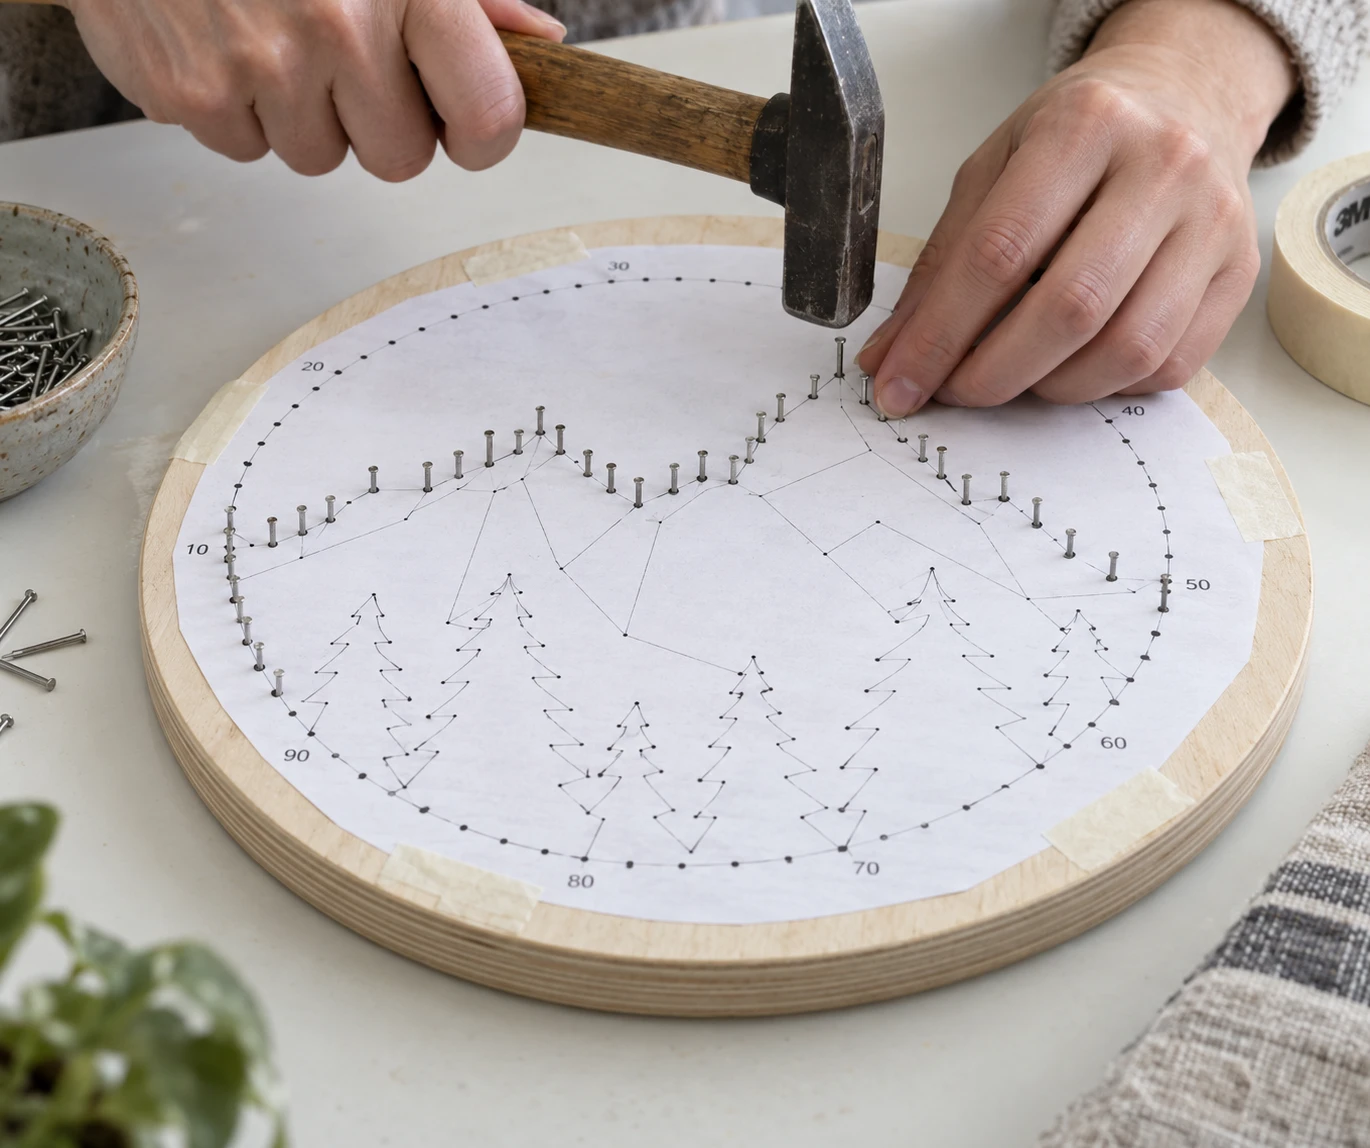
Download the nail template for the same pattern settings. Nails are numbered clockwise from the topmost point of the outline; use the template to identify nail 1. Mark that top position on the back of the board as well as on your working template so that you can recover the orientation after moving the project.
Use the full-size PDF print pack and choose Actual size / 100%, with Fit to page switched off. Measure its 50 mm calibration line with a ruler before joining the overlapping pages. Preserve the shape’s proportions if you resize an SVG template. Use the materials guide to check spacing before driving every nail.
Position the template, mark each nail center, and check the full circle before making holes. Use an appropriate stable work surface and eye protection when hammering. Set the nail heads to a reasonably consistent height, with enough room beneath each head for multiple passes of thread.
Follow the thread path
Save the thread instructions and preview before you begin. Keep them together with the nail template. A later pattern generated with different settings may look similar but have a different sequence, so do not mix the files from separate versions.
The path is a continuous sequence of nail numbers. Start at the first nail listed in your instructions and secure the thread. Move to the next listed nail, wrap around it so the thread is held under the head, then continue to the following nail. The path may visit the same nail many times; that is normal.
Maintain light, consistent tension. Pulling harder does not improve the pattern, and a heavily loaded nail can bend or loosen. If a strand slips off a nail, undo the affected step immediately instead of continuing and trying to compensate later.
Keep your place and finish carefully
Work in short sections and mark the last completed step whenever you stop. Leave a temporary marker at the current nail. On returning, check both the step number and the nail number before pulling the next segment. This simple habit prevents a lost place from becoming dozens of incorrect lines.
When the sequence is complete, secure the thread using a method suited to your material and trim the loose end. Check for missed or loose passes before mounting the board. Keep the saved instructions: they provide a useful record if a strand needs repair or you want to compare a second version.
Put it into practice
Try your image, inspect the preview, and save the pattern that works for your project.
Open the generator