
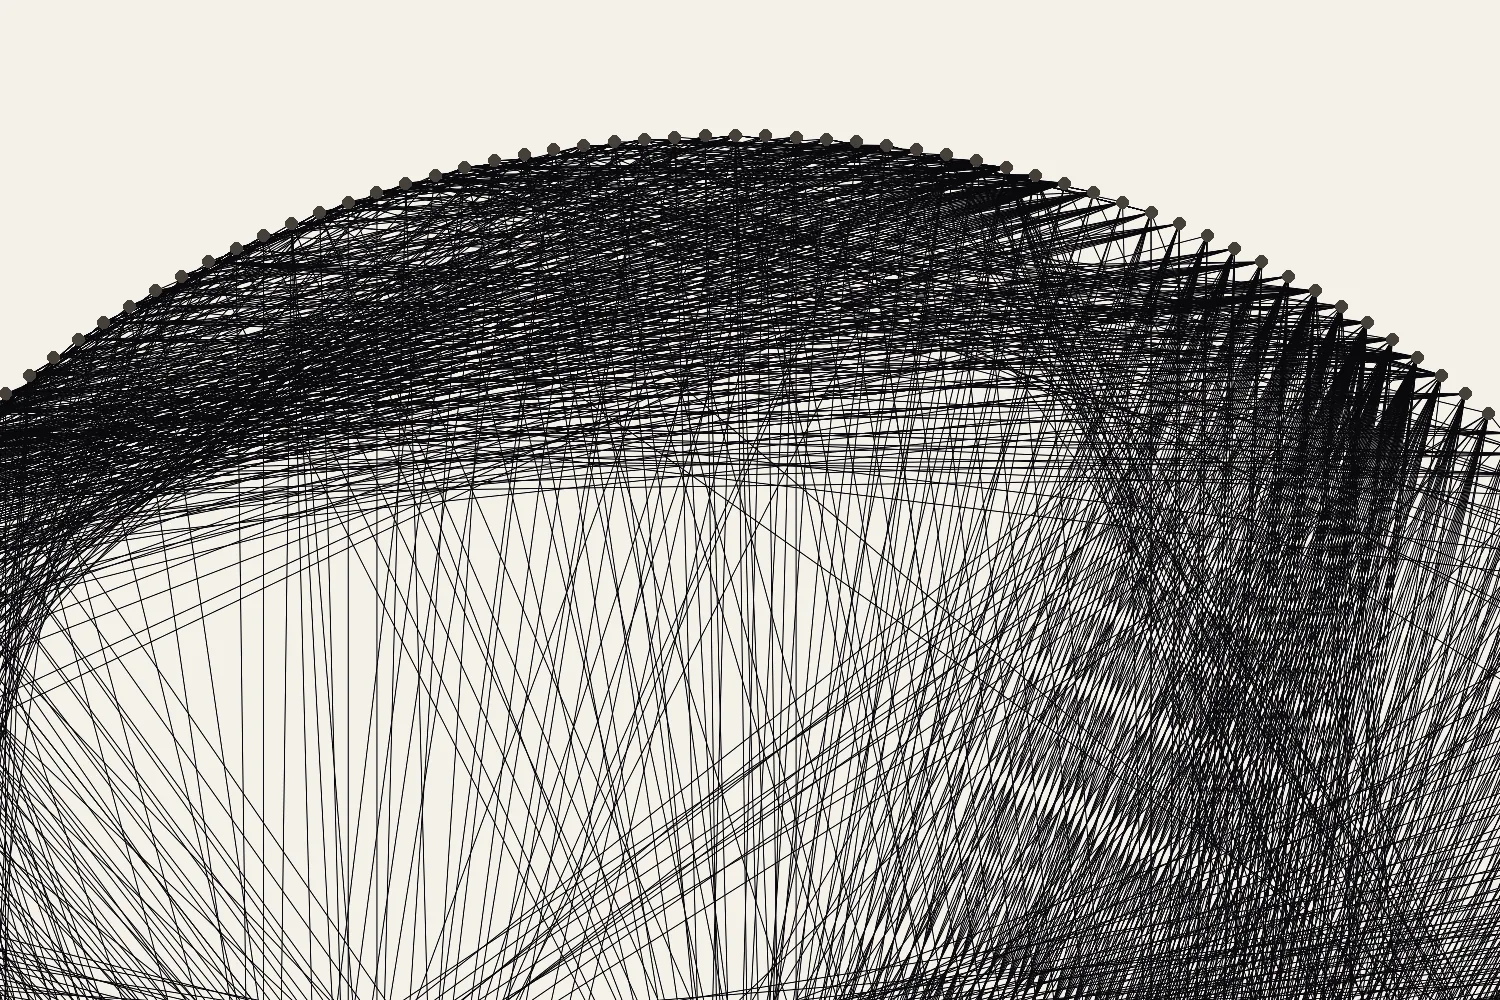
Tie on at the first nail
Making mode begins with “Tie on at nail 1”. Nail 1 is the topmost point of the outline, and the numbers run clockwise. Leave a tail of a few centimetres, wrap the thread twice around the nail below its head, and secure it with a knot that will not slip, such as a clove hitch or two half hitches. Push the knot down towards the board so it sits below the strands that will follow.
Some makers add a small drop of fabric glue or clear varnish to the starting knot. Test any glue on an offcut of your board first: it can stain bare wood or lift paint. Trim the tail once the knot is secure, or leave it to be covered by later passes.
Keep the thread running freely
Work directly from the spool rather than cutting lengths. A portrait on a 50 cm board can use 800 m to 1,000 m of thread, so cutting it into arm’s lengths would mean hundreds of knots. Let the spool turn in a bowl or on a dowel so the thread comes off without twisting.
Twist still builds up slowly as you wind. When the thread starts to curl back on itself, let the spool hang for a moment and it will unwind. Hold light, even tension with your free hand. Pulling hard does not improve the image, and it can bend nails or slowly lift them out of the board.
Join a new length
When a spool runs out or the thread breaks, finish at a nail rather than in the middle of a span. A knot hidden among the wraps on a nail is almost invisible; a knot in the middle of a strand shows and can catch. Wrap the old end around the current nail, tie the new thread on at the same nail, and continue with the next connection.
Write the connection number of every join in the project notes. If the image later shows a change in tone, you will know where to look. Use thread from the same batch where you can, because two spools of the same colour can differ slightly in shade and thickness.
Change colour in a colour pattern
A colour pattern is several routes, one for each thread. The step card shows the colour of the current thread, and the first connection of a new colour is marked “tie on a new thread”. Tie off the previous colour at its last nail, then tie the new colour on at the first nail of the next connection.
Follow the layers in the order the studio gives them. Later threads are planned to sit on top of earlier ones, and changing the order changes which colour shows where they cross.
Undo a mistake
Stop as soon as something looks wrong: the thread went to the wrong nail, slipped off a nail head, or a nail has bent. Use the Previous button, or the left arrow or P key, to step back on screen until the highlighted connection matches the last correct strand on the board. Unwind the thread back to that nail, then continue from the step shown.
Every connection starts where the previous one ended, so you cannot skip ahead to make up for an error. If you discover a single wrong strand long after it happened, it is usually better to leave it. One misplaced line among thousands is rarely visible. What matters is that you continue from the nail the route expects.
Use Jump to step after a long pause. If you recorded your stopping point in the notes, type the connection number into Jump to step instead of tapping through hundreds of steps.
Tie off and finish
At the last connection, wrap the thread twice around the final nail and tie two half hitches. Add a drop of glue if you used it at the start, let it dry, and trim the end close to the knot. Then check the whole board for strands that have slipped above a nail head, and mark the piece as finished in your projects so the record is complete.
Put it into practice
Try your image, inspect the preview, and save the pattern that works for your project.
Open the generator