
Choose a shape that helps the subject
A circle gives a portrait an even frame. An oval follows a taller subject. A diamond makes a small abstract study feel more graphic, while a heart can turn a simple image into a personal gift. Compare the board preview before committing to a template. A new frame changes the available connections, so the same photo and line count can produce a different result.
Heart, diamond, and arch join the familiar circle, square, rectangle, triangle, polygons, star, and oval. Start with a broad, simple silhouette. Thin tips and narrow necks leave less room for nails and fewer useful routes across the board.
Prepare one clean, closed outline
Custom SVG outlines are available in the studio. Open Studio → Board → Your SVG. The importer accepts one closed path, polygon, rectangle, circle or ellipse and explains any rejection before anything is stored.
Draw a single closed silhouette in your vector editor and export it as SVG. Use a plain outline rather than a finished illustration: remove text, photographs, hidden objects, and decorative strokes. Convert text to paths first if you are experimenting with a simple letter. Compound letters with holes and disconnected islands need a different construction and are not suitable for this importer.
The importer reads an outline to position nails; it does not execute the SVG as a webpage or import an entire drawing as a finished thread design. If an export is rejected, simplify it to one closed shape and remove transforms or nested artwork. Keep the original vector file so you can revise the silhouette.
Check the corners, the gaps, and the real size
After importing, inspect the board preview at the intended nail count. Curved outlines are approximated for the nail layout. Closely spaced points in a tight curve can become hard to build even when the overall average spacing looks generous. Avoid very sharp corners and deep, narrow cut-ins.
On a concave board, some straight lines between nails would cross outside the material. The generator restricts those routes, which can reduce detail in parts of the image. A simpler outline often makes a better physical project. The boundary check does not calculate nail strength or guarantee that every small feature is practical.
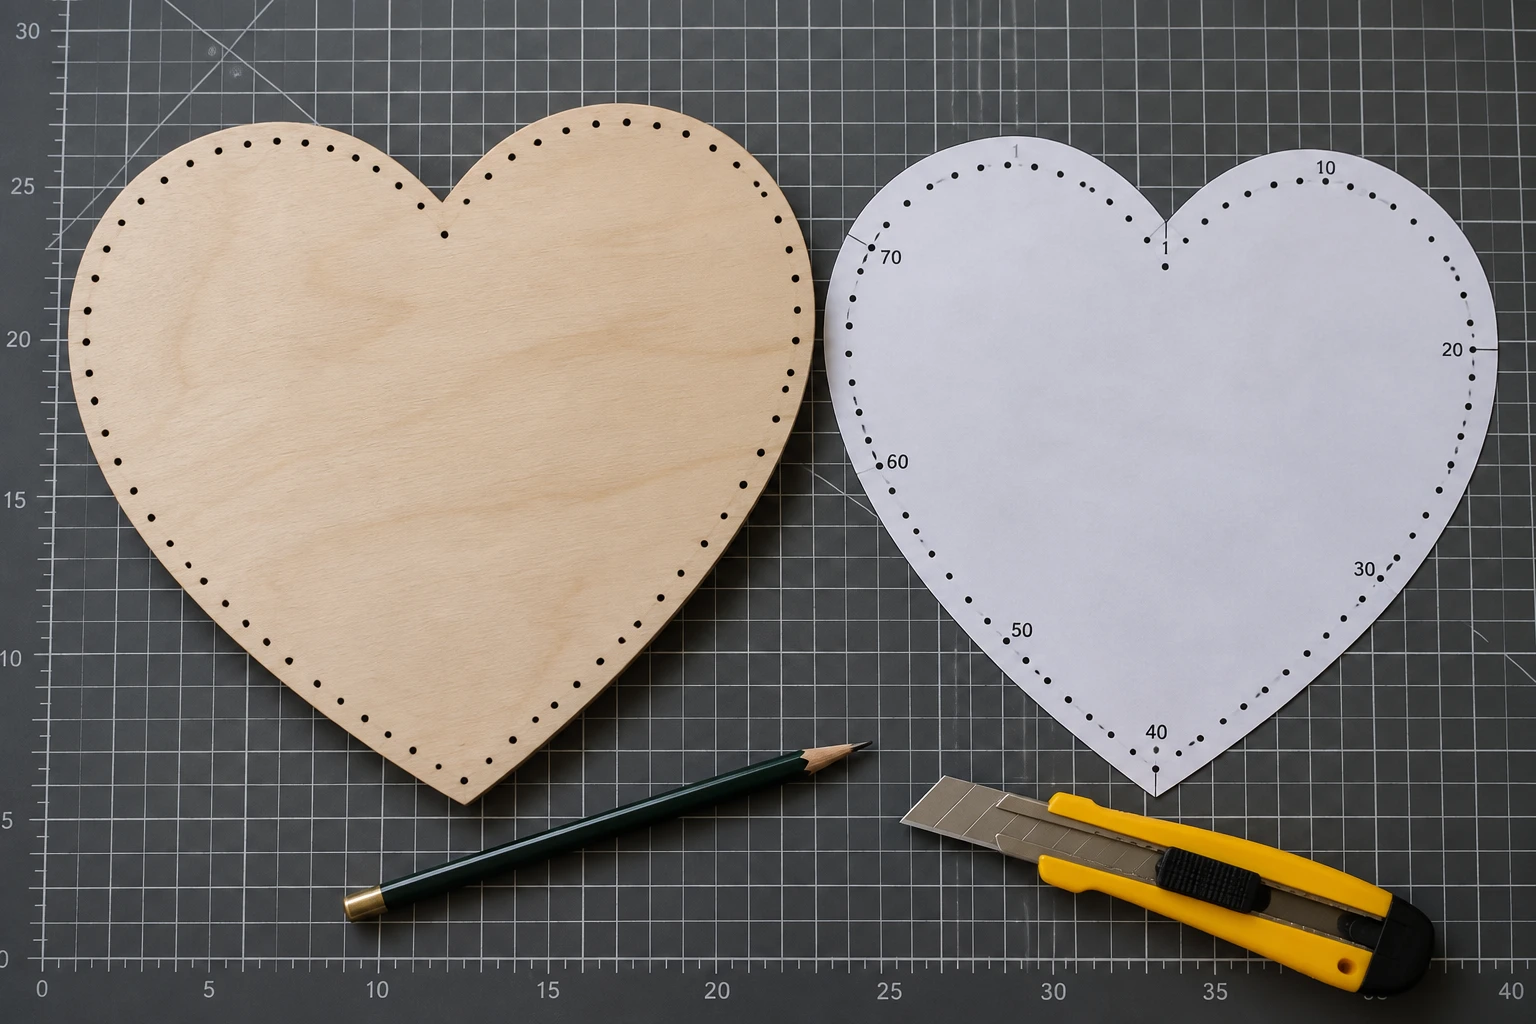
Print a paper version first. Use the numbered template from the same generated project. Measure the calibration line, inspect every narrow section, and mark nail 1 before drilling. Do not reuse the numbering from an earlier shape.
A board outline and an image are different inputs
Use a custom SVG when you want to change the outside shape of the nail layout. Use a photo or high-contrast image when you want a symbol, face, or letter to appear inside that layout. Importing a leaf silhouette creates a leaf-shaped board; it does not automatically create leaf veins or an interior embroidery path.
For lettering, try a large, simple character as a source image on a circle first. Dedicated lettering paths, multiple contours, holes, and manually placed interior anchors are future directions. See the string-art typography reference for the distinction.
Put it into practice
Try your image, inspect the preview, and save the pattern that works for your project.
Open the generator